
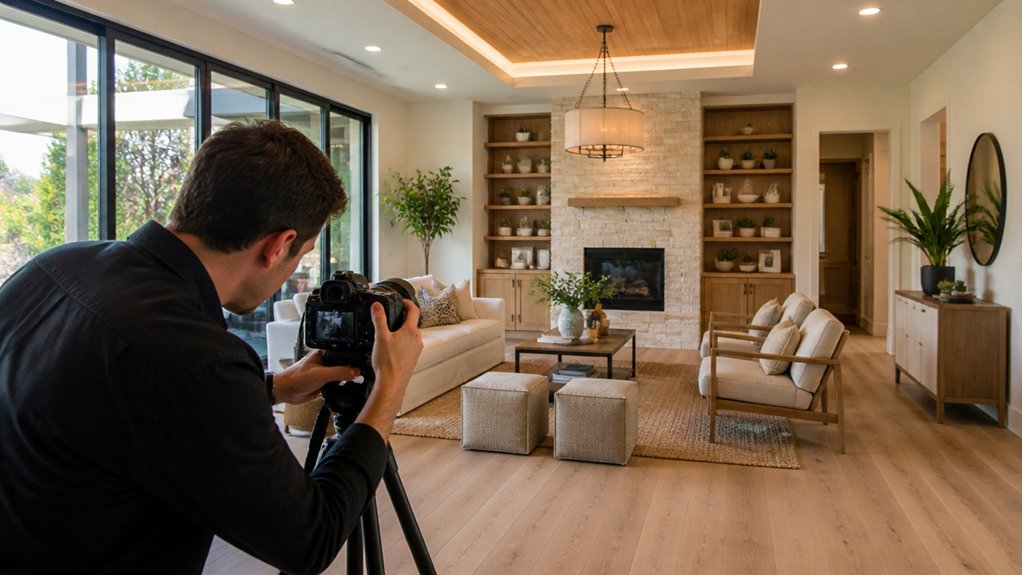

A buyer scrolls past dozens of listings, then pauses at a bright, inviting photo of your property. Online, your images often shape a buyer’s first impression before they see the price, description, or floor plan. Professional photos can help your listing earn more clicks, showcase its strongest features, and present its condition clearly. But even a polished image can miss the mark if you don’t know what buyers look for first.
Why Listing Photos Matter
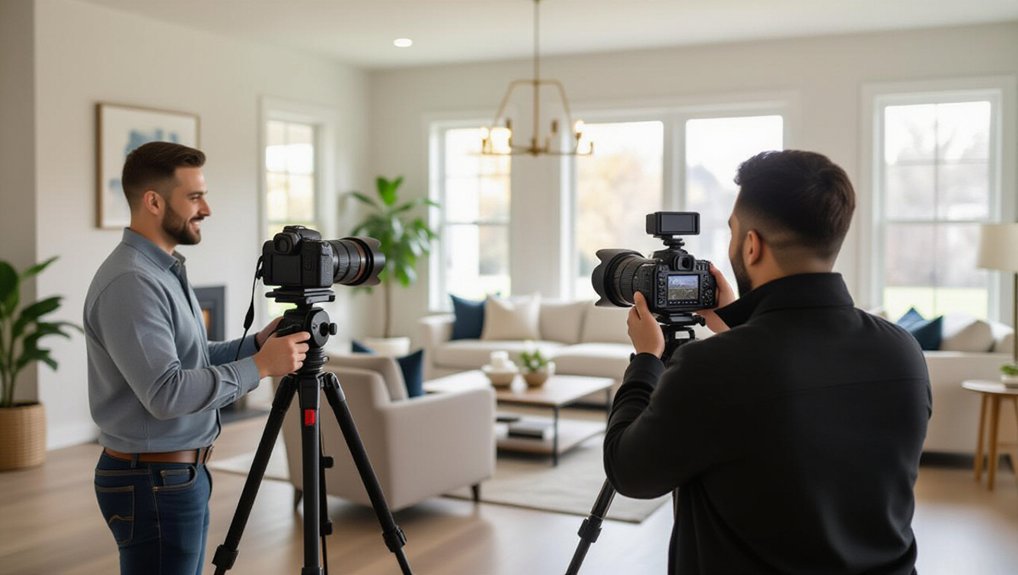
Listing photos shape a buyer’s first impression and can determine whether they explore a property or scroll past it. Strong images also help you communicate a home’s condition, layout, and character before a showing. When your photos accurately represent the space, buyers can assess whether it suits their needs and arrive with realistic expectations.
Professional photography brings out details that casual snapshots often miss. Thoughtful staging strategies highlight a room’s purpose, while careful lighting techniques reveal its true dimensions, colors, and finishes.
A skilled photographer also chooses angles that show how spaces connect without distorting them. These choices don’t just make a home look polished; they help you present it clearly and credibly.
Invest in quality images to give buyers a reliable view of the property and support a confident, informed decision.
How Photos Earn More Listing Clicks
Once your photos accurately represent a property, they also need to make buyers stop scrolling. Strong visuals give your listing an advantage in crowded search results, where people decide quickly which homes deserve a closer look.
Professional photography uses balanced light, thoughtful composition, and crisp detail to create an immediate impression of quality. That polish can encourage more prospective buyers to click and explore.
You can also use Drone footage to reveal a home’s setting and scale, helping buyers understand its appeal at a glance. Virtual staging can show how an empty room might function, giving viewers a clearer sense of its potential.
Keep every image honest and consistent with the property; misleading visuals can erode trust. When your presentation feels compelling and credible, buyers have a stronger reason to open your listing.
Which Listing Photos Should You Include?
To help buyers understand a property, include clear photos of every key space, from the exterior and main living areas to the kitchen, bedrooms, and bathrooms. This complete coverage gives viewers a reliable sense of the home’s layout and condition before they schedule a visit.
Add photos of entryways, hallways, laundry rooms, storage areas, and outdoor spaces when available. These images answer practical questions and help buyers assess whether the property suits their needs.
For larger homes or expansive lots, Drone photography can show the setting and overall scale. If a room is empty, Virtual staging can illustrate its potential, but label edited images clearly so buyers know what they’re seeing.
Choose a balanced selection that represents the property honestly; avoid repetitive angles or omitting spaces, since gaps can create uncertainty and weaken trust.
How to Show a Property’s Best Features
To make your listing stand out, use professional photos to highlight the features buyers value most, from updated finishes to distinctive architectural details.
Capture connected spaces from angles that show how rooms flow together. This helps buyers picture themselves moving through and living in the property.
Highlight Key Features
Professional photos make a property’s most compelling features impossible to miss. To draw attention to a stone fireplace, vaulted ceiling, or renovated kitchen, ask your photographer to frame each feature clearly and capture it in crisp, balanced light. Strong Photo composition guides a viewer’s eye without distracting from the space.
Before the shoot, remove clutter and arrange furnishings so standout details remain visible.
You’ll also want images that show materials and finishes accurately. Thoughtful image editing can correct exposure and color balance, but it shouldn’t disguise flaws or make rooms look misleading. Authentic photos build trust and help buyers judge what makes the property special.
Choose a few focused images that give each major selling point room to register. When you present distinctive features with care, you give viewers concrete reasons to explore the listing further and schedule a visit.
Showcase Room Flow
A well-planned photo sequence helps buyers understand how rooms connect and how the home lives. Guide viewers from the entry through shared spaces, then toward private rooms, so each image builds a clear sense of the property.
Show the Room layout with angles that reveal doorways, sightlines, and transitions—not just isolated interiors. This approach helps buyers picture daily routines, from carrying groceries into the kitchen to moving easily between the living and dining areas.
Use Flow optimization to highlight natural pathways and keep the sequence intuitive. Photograph open connections from more than one room when they add context, but avoid repetitive views.
Keep furniture positioned to reveal circulation, and frame architectural details without obscuring them. When buyers can follow the home’s logic online, they’re more likely to appreciate its comfort, function, and distinctive advantages.
How to Prepare a Property for Photos
Strong listing photos start with thoughtful preparation: declutter each room, clear countertops, open blinds, and put away personal items so buyers can focus on the property. Next, make beds, straighten cushions, and remove small rugs that interrupt the floor’s lines. These simple staging techniques help rooms look spacious, polished, and inviting without distracting from their features.
Pay attention to lighting essentials before the photographer arrives. Replace burned-out bulbs, use matching color temperatures, and switch on lamps where they brighten dark corners. Schedule the shoot when natural light is strongest, and clean windows to let it in.
Tidy outdoor areas, too: sweep paths, arrange patio furniture, and hide hoses or bins. Finally, check each room from the doorway and correct anything that looks out of place. A brief walkthrough helps you present a clean, camera-ready property.
How to Build Trust With Listing Photos
Once your property is camera-ready, honest photos help buyers trust what they see. Show each room clearly and represent its proportions, finishes, and natural light accurately. When your images match the property buyers encounter in person, you set realistic expectations and make viewings more productive.
Use Virtual staging to illustrate how an empty space could function, but label staged images so buyers understand what’s real. Drone photography can reveal a home’s setting, access, and outdoor features, giving viewers useful context beyond the interior.
Choose angles that explain the property rather than simply impress.
Consistency also strengthens credibility. Keep colors and lighting natural across the gallery, and include enough views to help buyers understand the layout. When your photos answer practical questions, you demonstrate transparency, reduce uncertainty, and give serious buyers confidence to take the next step.
Which Listing Photo Mistakes Should You Avoid?
Even a well-prepared home can lose buyers’ interest when listing photos obscure its best features or create false expectations. Avoid cluttered rooms, distracting personal items, and crooked horizons; these flaws make spaces feel smaller and less inviting. Thoughtful photo composition guides the eye toward a room’s strongest features.
While wide-angle shots can be helpful, they shouldn’t distort proportions or make rooms appear larger than they are. Don’t omit awkward spaces or use photos that hide significant drawbacks. Buyers may feel misled when the home looks different in person.
Use image editing carefully. Correct exposure and color balance, but don’t remove permanent features, alter views, or digitally stage rooms without clear disclosure. Overediting can undermine trust and invite disappointment at showings.
Choose accurate, consistent images that represent the property honestly, so buyers can judge its condition and layout with confidence.
When Should You Hire a Listing Photographer?
If you want listing photos that look polished and accurately represent your home, hire a professional before the property goes on the market. Book your photographer once repairs, decluttering, and staging are complete, but leave enough time to review the images and make adjustments before launch.
Strong photos help buyers understand your home’s value at a glance, so they should support your Pricing strategy from day one.
Coordinate the shoot with your agent to align Market timing, local demand, and your listing schedule. If you’re selling during a busy season, reserve a date early; photographers’ calendars fill quickly.
You might also schedule twilight or exterior shots when weather and light suit the property. Don’t wait until your listing goes live: rushed photography can weaken your first impression, reduce buyer interest, and cost you valuable momentum.
Conclusion
Your listing photo is the open house buyers attend first—often from a phone screen. If a dark, cluttered image makes them scroll past, they may never discover the home’s best features. Professional photography helps you make that first impression count, showing the property clearly and honestly while earning more attention and trust. Before you publish, ask whether each image invites buyers inside. When the answer is yes, your photos become more than decoration: they’re a powerful tool for a successful sale.