
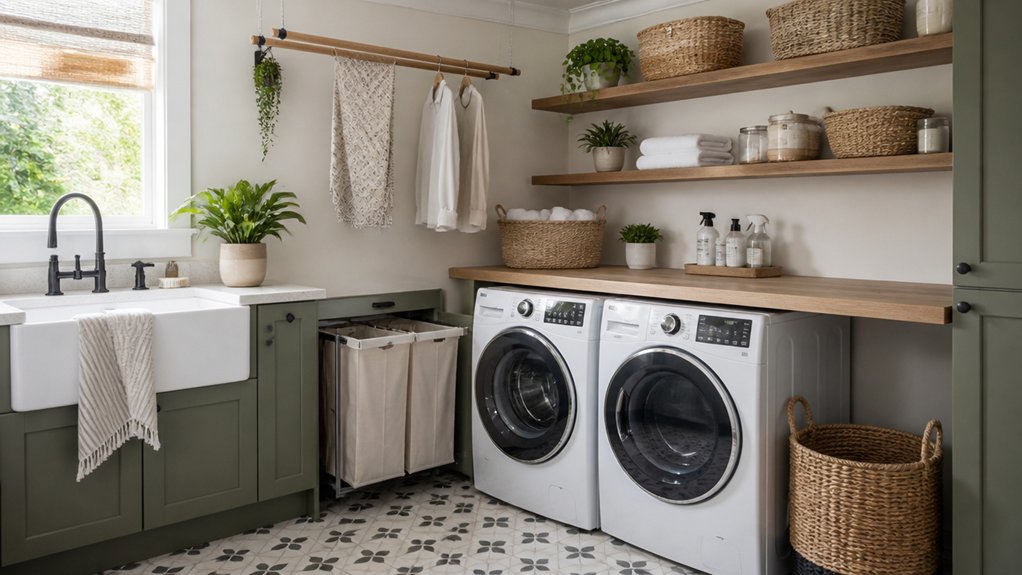

A well-planned utility room can make laundry, cleaning, and everyday household tasks quicker and safer. Start by arranging appliances and work areas around how you use them, then consider lighting, ventilation, durable surfaces, and storage that keeps supplies within reach but hazards secured. A few practical changes can also reduce bending, clutter, and cleanup. The best layout depends on what your household needs most—and where your current setup is slowing you down.
Plan Your Utility Room Renovation Layout
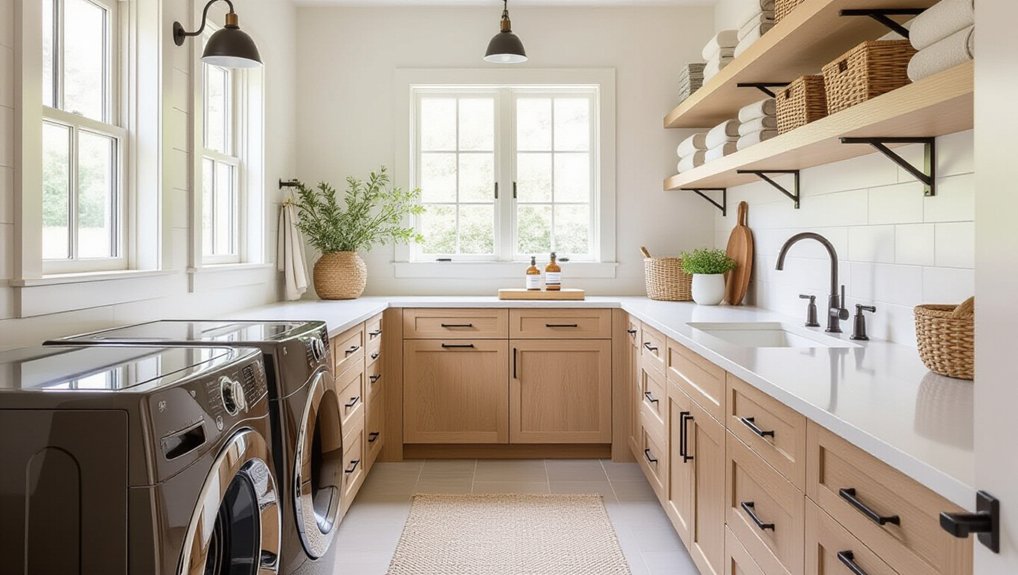
Before choosing finishes or fixtures, map out how you’ll use the room. List the tasks you handle there, such as laundry, cleaning, storage, or pet care, then group related supplies and equipment.
Measure the room, noting doors, windows, plumbing, and existing appliances. These details help you plan a layout that fits your needs without blocking access.
Place frequently used items within easy reach, and reserve higher shelves for occasional supplies. Keep a clear path between work areas, and allow enough space to open appliance doors and move baskets.
If you’ll add a folding counter, position it near the washer and dryer.
Choose Color schemes that make the room feel cohesive, then compare Material options for counters, flooring, and cabinetry based on durability and upkeep.
Confirm dimensions before ordering so every component fits your plan.
Plan Lighting, Ventilation, and Safety
Once your layout is set, plan lighting and ventilation around the tasks and equipment in the room. Add bright, even overhead lighting so you can sort laundry, read appliance controls, and spot spills. Place task lights above worktops or near a sink, and consider Smart lighting with motion sensors or adjustable brightness for hands-free convenience. Choose fixtures rated for damp locations where moisture is likely.
Control humidity and odors with exhaust fans vented outdoors, not into an attic or wall cavity. Size the fan for the room and run it during damp tasks.
For safety, keep outlets and switches away from water, install GFCI protection where required, and avoid overloading circuits. Secure cords, maintain clear paths, and keep cleaning products locked away from children and pets. Check local codes before electrical or ventilation work.
Choose Durable, Easy-Clean Surfaces
Choose surfaces that can withstand moisture, detergent, and frequent scrubbing without becoming damaged. For counters, consider sealed quartz, stainless steel, or compact laminate; each resists stains and wipes clean with little effort.
On floors, porcelain tile and sheet vinyl handle spills well, while textured finishes can improve grip when wet.
Protect walls near sinks with washable paint or a simple tile backsplash, so splashes don’t leave lasting marks.
Check product specifications for water resistance, chemical compatibility, and maintenance requirements before you buy.
Eco-friendly materials, such as recycled-content tile or responsibly sourced wood with a durable sealant, can reduce environmental impact without sacrificing performance.
Pair resilient finishes with innovative cleaning solutions, including wall-mounted dispensers and accessible storage for supplies.
Choose smooth, nonporous surfaces where grime tends to collect, and use compatible cleaners to preserve their finish.
Place Laundry Appliances for Easier Use
Place your washer and dryer side by side for easy transfers between cycles.
Raise the machines on sturdy pedestals to reduce bending.
Keep detergent and other laundry supplies within reach.
Set Appliances Side by Side
Setting your washer and dryer side by side makes laundry easier to load, unload, and sort. This appliance placement gives you a clear work area between the machines, so you can transfer wet clothes without carrying them across the room.
Keep a sturdy counter or folding surface nearby to manage each load as it comes out of the dryer. If space allows, leave room for a laundry basket on the side where you sort clothes.
Check appliance dimensions, door swing, and manufacturer clearance requirements before finalizing the layout. You’ll also want accessible outlets, water connections, and a dryer vent that meets code.
Thoughtful workflow optimization reduces unnecessary steps and keeps supplies within reach. Arrange detergent and stain treatments near the washer, and reserve a separate spot for clean, folded laundry.
Raise Machines to Reduce Bending
Raising your washer and dryer can reduce bending when you load and unload laundry. A properly sized pedestal brings the drum closer to waist height, so you can transfer clothes with less strain on your back and knees. Choose a model designed for your specific appliances; an unstable or mismatched base can create safety risks. Check each machine’s installation instructions and secure it as directed.
Before buying, measure the available footprint, appliance doors, and nearby walkways. Pedestals add height and may affect overhead clearance, so confirm you can still open doors fully and reach controls comfortably.
If you’re renovating, a built-in platform can provide a tailored fit, but it must support the combined weight and vibration of both machines. Thoughtful ergonomic design and space optimization help you create a safer, more comfortable laundry setup.
Keep Supplies Within Reach
Keep detergent, stain removers, and other laundry essentials near the washer so you can reach them without interrupting a load. Arrange frequently used products on a shelf or in a cabinet at a comfortable height, away from children and pets.
Use labeled bins to group items by task, such as washing, stain treatment, and garment care. This storage organization helps you find what you need quickly and prevents clutter from spreading across counters.
Keep heavier containers on lower shelves, and place small supplies in stable, easy-to-open drawers.
Leave enough clearance around appliances so doors open fully and you can move safely while carrying laundry.
If you’re planning a renovation, position storage beside the washer and dryer rather than across the room.
Thoughtful supply accessibility makes each load simpler and safer.
Add Storage for Laundry and Cleaning Supplies
When you plan storage around your laundry routine, supplies stay organized and easy to reach. Group detergent, stain removers, and fabric care products by task, then assign each category a labeled bin or shelf.
Keep frequently used items at a comfortable height, and store backups higher or in a closed cabinet. Organizational systems work best when you can maintain them quickly, so choose containers that fit your products and are easy to wipe clean.
Custom shelving can make use of narrow gaps and awkward corners, while adjustable shelves accommodate changing bottle sizes.
Add a secure, child-resistant cabinet for bleach, pods, and other hazardous cleaners. Use a ventilated area for damp cloths, and avoid storing chemicals above appliances where leaks could go unnoticed.
Before installing shelves, check wall studs and account for plumbing, outlets, and door clearance. A simple inventory label helps you replace essentials before they run out.
Make Room to Sort, Fold, and Dry
A clear work surface makes laundry easier to sort, fold, and prepare for drying. Install a durable countertop above front-loading machines or along an open wall, and keep it at a comfortable height. You’ll gain space to treat stains, stack clean clothes, and fold items without carrying them elsewhere. Add labeled baskets beneath the counter so you can separate loads by color, household member, or washing instructions.
Folding stations work best when you have enough elbow room and nearby access to hangers, hampers, and supplies. For air-drying, choose wall-mounted or ceiling-mounted Drying racks that fold away when you don’t need them. Position racks where clothes can circulate freely, away from doorways and work surfaces.
If space is tight, use a retractable line or a rack over the sink to preserve floor space.
Conclusion
With a thoughtful utility room renovation, you can make everyday chores simpler, safer, and faster. Plan a layout that fits your routine, add bright lighting and reliable ventilation, and choose surfaces that stand up to spills and scrubbing. Place appliances within easy reach, store supplies securely, and create room to sort, fold, and dry. When every feature has a purpose, you’ll spend less time searching, lifting, and cleaning—and more time enjoying a home that works for you.