
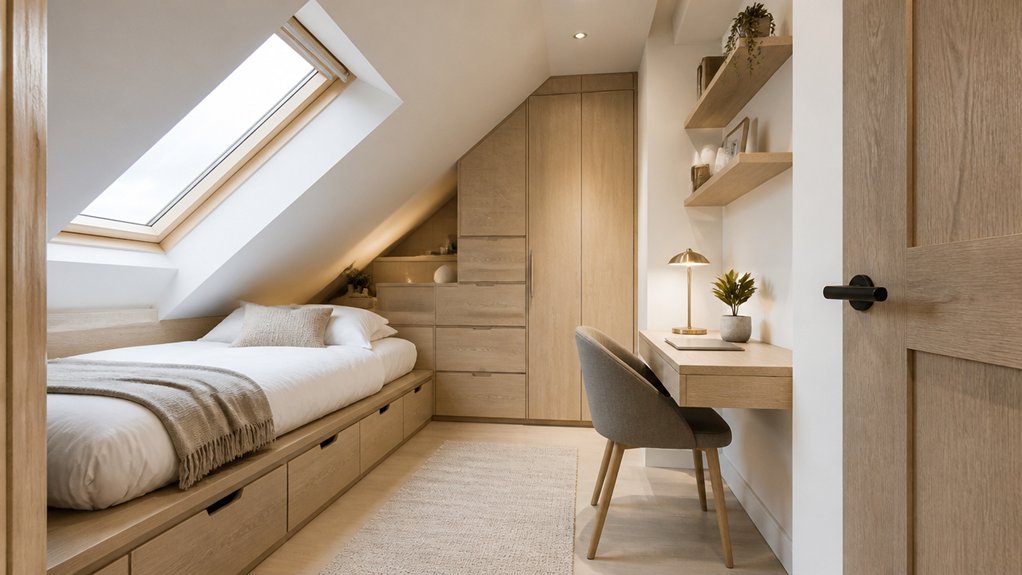

The most usable space in your loft conversion may be where you expect the least: beneath the sloping roof. With a layout planned around the roofline, you can turn awkward corners into practical storage, work areas, or places to unwind. The right furniture, lighting, and colour choices can also make a compact room feel more open. But one common planning mistake can waste valuable floor space before you’ve even furnished the loft.
Plan Your Loft Layout Around the Roofline
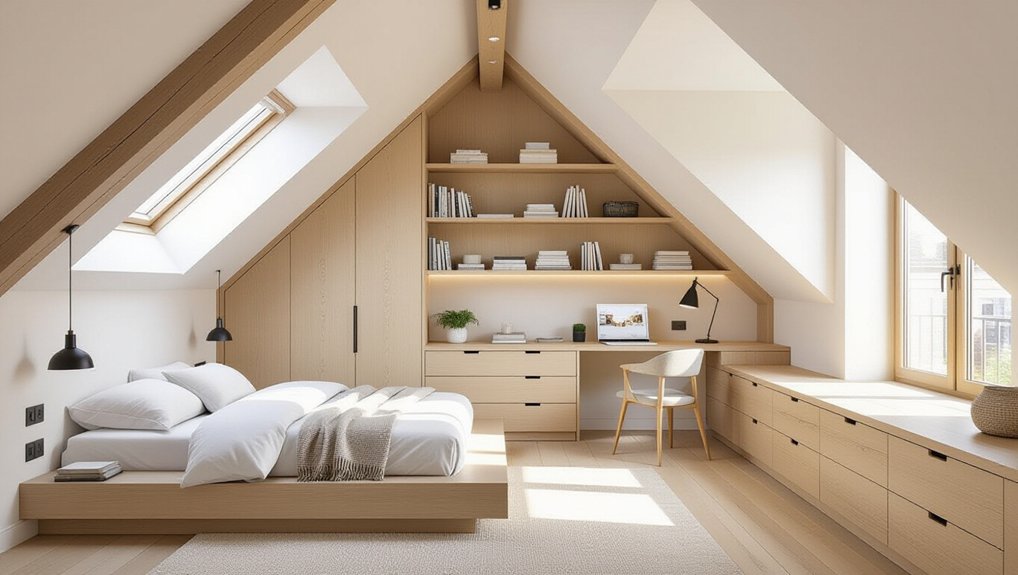
Start your loft layout with the roofline, because its slopes and low eaves determine where you can stand, move, and place furniture comfortably. Measure ceiling heights across the room, then map full-height areas for circulation and daily activities.
Position beds, desks, and seating beneath sloping sections where you’ll spend less time standing; reserve taller zones for wardrobes, doorways, and clear walking routes. Use low eaves for built-in drawers or cupboards, but check that doors and drawers can open without blocking movement.
Roofline optimization means matching each function to the available headroom, not forcing standard furniture into awkward spaces. Before altering partitions or adding storage, review Structural considerations with a qualified professional.
Roof timbers, supports, and floor capacity can limit changes, so confirm what your loft can safely accommodate before finalizing the layout.
Bring More Natural Light Into Your Loft
You can brighten your loft by installing roof windows where they’ll capture the most daylight.
If roof access is limited, light tunnels can channel sunlight into darker areas.
Check roof structure and placement with a qualified installer before work begins.
Install Roof Windows
Adding roof windows can flood a loft with natural light, making it feel brighter and more spacious. Choose window sizes and positions to suit your roof’s pitch, room layout, and furniture plan. A higher placement can bring daylight deeper into the space, while an opening model also helps release warm air.
Before roof window installation, check planning rules, building regulations, and the roof structure with a qualified professional. They’ll confirm whether you need structural reinforcement, suitable flashing, and adequate insulation around the frame. Good detailing prevents leaks and limits heat loss.
Think about how you’ll reach and operate each window. Position controls within easy reach, or choose an electric model for a high opening. Keep attic access clear during the work, and plan safe routes for installers carrying materials.
Proper placement improves comfort without sacrificing usable floor space.
Add Light Tunnels
When roof windows aren’t practical, light tunnels can bring daylight into a loft through a reflective tube that runs from the roof to the ceiling. You can use them to brighten a landing, dressing area or other space that sits far from an exterior wall.
A roof-mounted dome captures sunlight, while the tube carries it indoors with minimal heat loss. Choose a route with few bends; each turn can reduce the amount of light reaching your room.
Before installation, check that your roof structure, insulation and ventilation allow a clear, weatherproof path.
A diffuser spreads light evenly across the ceiling, helping you avoid harsh glare.
For effective daylight enhancement, match the tunnel’s diameter to the room and consider a model with an integrated night-light.
Light tunnels add brightness without using valuable floor or wall space.
Use Built-In Storage Under Sloping Ceilings
Make awkward eaves useful with storage designed to fit beneath your loft’s sloping ceilings. Custom-fitted cabinets can follow the roofline, while low-level drawer units keep everyday items accessible.
You’ll gain practical storage without wasting floor space.
Eaves Storage Solutions
Sloping ceilings can leave awkward gaps, but built-in eaves storage turns that space into useful, accessible storage. Plan around the roof’s shape, keeping frequently used items within easy reach and reserving the lowest sections for seasonal belongings.
Eaves storage works best when you can access it without moving furniture or crawling into a cramped corner. Choose hinged doors or removable panels that suit the opening, and include ventilation to help prevent condensation.
Before fitting anything, check the roof structure and preserve adequate Roof insulation; compressing insulation can reduce its effectiveness. Keep stored items in labelled boxes, and avoid placing heavy loads against the roof lining.
A clear layout makes the space easier to use and maintain, while careful planning protects your loft’s comfort and helps every inch serve a practical purpose.
Custom-Fitted Cabinets
Custom-fitted cabinets turn the low, irregular space beneath a sloping ceiling into practical storage without wasting floor area. Measure the roofline carefully, then design each cabinet to follow its pitch and fit tightly against the knee wall. This approach makes awkward corners useful while keeping the room’s layout open.
Choose custom shelving for books, folded clothes, or items you need close at hand. For hanging garments, plan wardrobe solutions around the available height: a full-length rail suits the taller section, while shorter rails can serve lower spaces.
Add doors to conceal belongings and create a calmer appearance, or leave selected shelves open for easy access. Use durable materials and reliable hinges, and allow enough clearance for doors to open comfortably.
A skilled installer can account for roof angles, insulation, and ventilation.
Low-Level Drawer Units
When a sloping ceiling leaves little headroom, low-level drawer units turn the space beneath it into accessible storage. Built to follow the roofline, they use awkward eaves without obstructing movement or wasting valuable floor area. Choose drawers deep enough for folded clothes, bedding, or seasonal items, and fit full-extension runners so you can reach the back easily.
Plan the unit’s height around the lowest point of the ceiling, allowing room to open each drawer fully. Handle-free fronts can keep the design neat and reduce snags in tight spaces. For a precise fit, coordinate the finish with nearby cabinets or flooring.
These practical storage solutions often outperform freestanding furniture options, which may leave unusable gaps. Add dividers to organise smaller belongings, and reserve the most accessible drawers for items you use daily.
Choose Space-Saving Loft Furniture
How can you make every inch of a loft count? Choose furniture that fits your room’s dimensions and supports more than one purpose. Multifunctional furniture, such as a sofa bed or an ottoman with hidden storage, gives you useful features without crowding the floor. Measure sloping ceilings, doorways and walkways before buying, so pieces won’t obstruct access or feel awkward beneath the eaves.
Look for modular storage you can arrange around roof angles and adapt as your needs change. A compact desk with shelves above it can create a practical work area, while nesting tables provide surfaces when you need them and tuck away afterward. Keep larger pieces low and place them where headroom allows.
Prioritise sturdy, easy-to-move designs; you’ll find it simpler to reconfigure the room as your loft’s uses evolve.
Use Colour to Make Your Loft Feel Bigger
Light colours can make a loft feel more spacious by reflecting daylight and softening the boundaries between walls and ceilings. Choose warm whites, pale greys or muted neutrals to keep the room bright without making it feel stark.
If your loft receives limited natural light, test paint samples at different times of day before committing. Artificial lighting can change how each shade appears.
Color psychology can also guide your choices. Soft blues and greens often create a calm, airy impression, while saturated colours may feel visually heavier. You don’t need to avoid bold shades entirely: use them sparingly on a small feature, then keep surrounding surfaces light.
Consider paint techniques that suit your architecture. Painting sloped ceilings and walls the same pale shade can reduce visual breaks, while a consistent finish helps the space feel cohesive.
Zone Your Loft Without Adding Walls
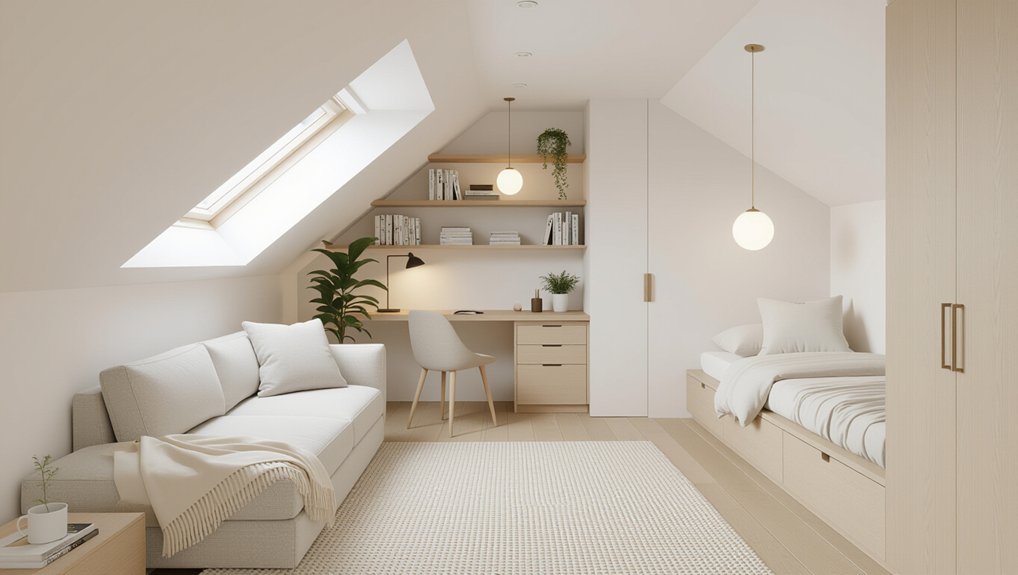
You can define distinct areas in an open loft without blocking light or making the space feel smaller. In an open plan layout, use furniture placement to mark where one activity ends and another begins. Position a sofa with its back to a dining table, or place a desk beside a bookcase to create a clear work area.
Choose low, open shelving to separate spaces while preserving sightlines and daylight. A rug can anchor a seating area, while a console table can distinguish an entry point from the main room.
For privacy zones, consider a freestanding screen or a curtain you can draw when needed; keep these flexible so you can adapt the layout. Align each zone with your loft’s natural traffic routes, leaving clear paths between stairs, furniture, and windows.
Choose Lighting for Low Loft Ceilings
Once your loft’s zones are in place, choose lighting that works with its low ceilings. Flush-mounted fittings sit close to the surface, keeping headroom clear where you walk or stand. Recessed downlights can provide focused illumination, but check ceiling depth and insulation requirements before installation.
For sloped areas, position fittings carefully to avoid glare and uneven coverage.
Layer ambient lighting with task lights so each zone suits its use. Wall lights can brighten a reading nook without taking up floor space, while compact desk lamps direct light onto work surfaces.
Choose LED options for energy efficiency, long life and a range of colour temperatures. Warm white creates a relaxed feel; cooler white can help you concentrate.
Put lights on separate switches or dimmers, giving you control over brightness throughout the day.
Add Loft Decor Without Losing Space
Choose loft decor that adds character without crowding the floor or narrowing walkways. Use a few well-chosen pieces rather than filling every surface. A slim wall shelf displays books or small objects while keeping the floor clear, and a mirror can reflect daylight to make the room feel larger.
Choose furniture with built-in storage, then style it with one or two Decorative accents, such as a compact vase or framed print. Keep colors and materials consistent to create a calm, cohesive look.
Make sloped ceilings part of the design with subtle ceiling treatments, such as a restrained paint color or simple paneling. Avoid bulky fixtures and oversized artwork that compete with limited headroom.
Before adding anything, check that it won’t obstruct doors, windows, or circulation routes.
Conclusion
With thoughtful planning, you can turn every awkward angle into an asset. Arrange your layout around the roofline, draw in natural light, and use built-in storage and adaptable furniture to keep essentials close without crowding the floor. A light, cohesive palette, subtle zones, and well-placed lighting help your loft feel open and comfortable. Keep decor purposeful, and let each piece earn its place. Treat limited space as a design challenge, not a drawback, and your loft can work beautifully.