
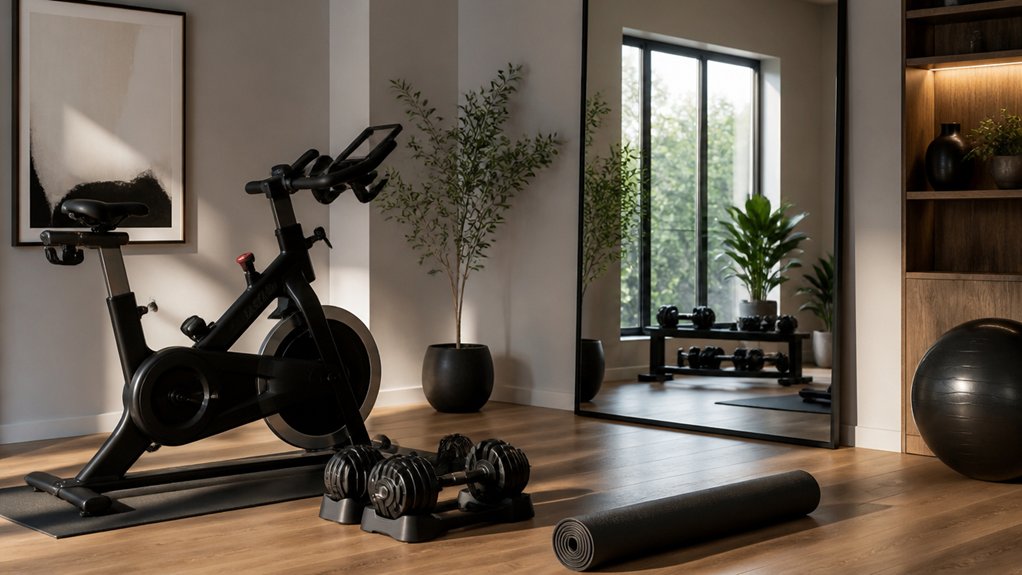

A motivating home gym starts with a layout that makes every workout feel easy to begin. Place equipment within reach, choose flooring that provides grip, and use layered lighting to support different activities. Color, mirrors, and smart storage can also shape how the space feels and functions. Even a small room can feel more open with a few deliberate choices—but the details that keep you coming back may be less obvious.
Plan Your Home Gym Layout
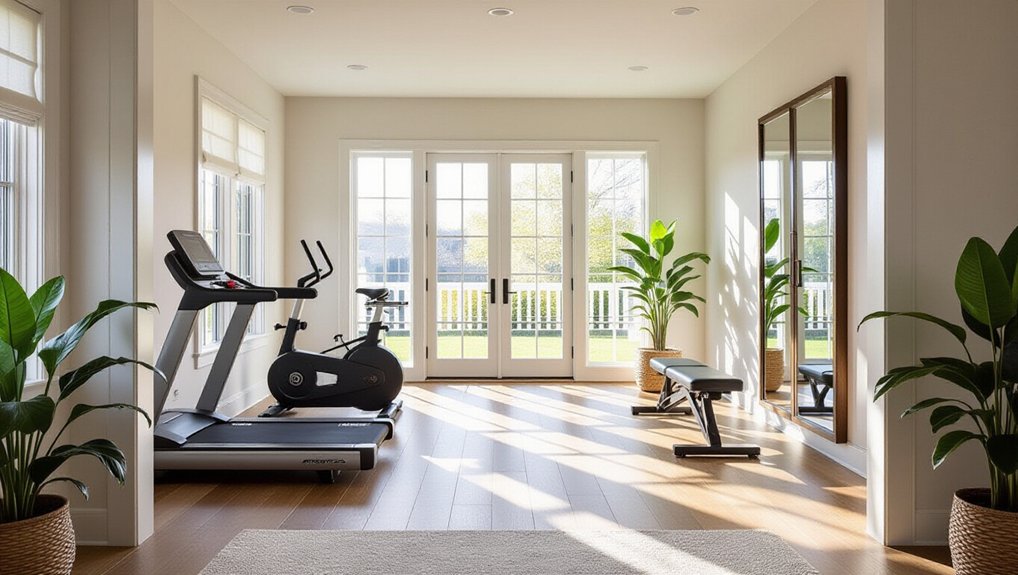
Start by measuring the room, then map out where each piece of equipment will go. Note door swings, windows, outlets, ceiling height, and any fixed obstacles. Leave enough clearance around machines and weights for safe movement, and check that your floor can support heavy equipment.
Sketch several options before settling on a layout; this simple step helps you spot cramped zones early.
Consider Furniture arrangement alongside workout equipment, even if the room needs only a bench, storage cabinet, or chair. Keep the plan balanced and preserve open floor space for stretching.
Place heavier items where the floor feels most stable, and avoid blocking natural light or ventilation. If noise could disturb others, use Soundproofing techniques such as dense rubber flooring, wall panels, and sealed gaps.
Confirm your layout works before buying or moving anything.
Arrange Equipment for Easy Access
Keep the equipment you use daily within easy reach, and store less-used items farther away.
Leave clear pathways between machines and workout zones so you can move safely.
Group similar equipment, such as weights and resistance bands, to make each session easier to set up.
Prioritize Daily Essentials
Because you’ll reach for some gear more often than others, place daily essentials—such as dumbbells, resistance bands, and a yoga mat—within easy reach of your workout area.
Keep frequently used items in a compact rack, wall-mounted holder, or open basket so you can grab them quickly and return them after each session.
Store heavier weights on lower shelves and lighter accessories at a comfortable height.
If you follow different Daily routines, group the Essential gear for each workout together, such as bands beside your mat or lifting straps near your weights.
Use labels or designated spots to make each item easy to find.
Keep less-used equipment in a separate storage area, but check that it remains accessible when needed.
A simple, consistent setup helps you start workouts without searching for supplies.
Create Clear Pathways
Arrange equipment so you can move between exercises without stepping around obstacles or shifting heavy gear. Leave a direct route from the entrance to your workout area, and keep enough space around each station for safe setup and movement.
Measure your equipment’s footprint, including benches that recline and doors or drawers that open, before settling on a layout.
Keep cords, mats, and small accessories out of walking lanes to reduce Obstruction hazards.
If you use dumbbells or kettlebells, place them where you can pick them up without crossing another exercise zone.
Check pathways from several angles; a clear route should remain usable when you’re carrying weights or moving quickly between sets.
Finally, consider aesthetic balance: align equipment thoughtfully and preserve open floor space, so the room feels orderly without compromising access or safety.
Group Similar Equipment
Group similar equipment in clearly defined zones so you can find what you need and move between exercises efficiently. Place dumbbells, kettlebells, and resistance bands together near a sturdy rack, keeping lighter items within easy reach.
Set your bench beside weights you use with it, but leave enough clearance to adjust its position safely. Keep cardio equipment, such as a treadmill or bike, in a separate area with access to outlets and ventilation.
Store mats, foam rollers, and mobility tools together near open floor space for stretching and recovery. Use labeled bins or wall hooks to keep small accessories visible and off the floor.
When you organize workout zones around your routine, you’ll reduce setup time, avoid unnecessary crossing, and maintain clear pathways between stations. Reassess placement as your training needs change.
Choose Home Gym Flooring for Grip
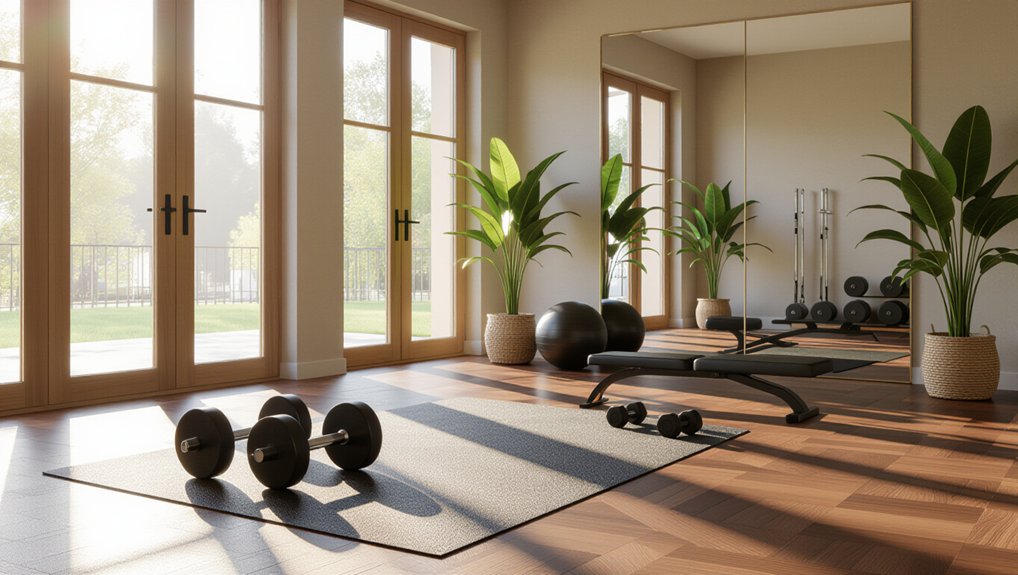
Choose rubber or textured vinyl flooring to help your feet and equipment stay in place. Test traction with your workout shoes, especially when the surface is damp or dusty.
If you feel slipping during lunges or pivots, choose a grippier finish.
Choose Grippy Materials
When you’re selecting home gym flooring, prioritize traction so your feet stay steady during lunges, lifts, and quick movements. Choose rubber mats with a dense, textured surface to help your shoes grip while cushioning joints and reducing noise.
Interlocking options let you cover workout zones neatly, and thicker mats can support dropped weights without shifting underfoot. For a more permanent finish, consider textured tiles designed for fitness spaces. Their raised patterns add grip, while durable construction handles repeated use and equipment pressure.
Check that the material suits your routine: smooth, sealed surfaces may feel slippery when damp, while deeply grooved designs can collect dust. Match the flooring to your room, too; secure edges and snug seams help create a stable, comfortable foundation for strength training, cardio, and mobility work.
Test Surface Traction
A quick traction test can reveal whether your gym flooring stays secure during movement. Before you commit, clean and dry a sample, then test surface traction in the shoes you’ll wear for workouts. Plant your feet and shift your weight side to side; the material shouldn’t slide, bunch, or feel slick.
Try controlled lunges, pivots, and short hops to check grip from different angles. For floor exercises, press your palms down and test whether they stay steady without sticking uncomfortably.
Repeat these checks when the surface is slightly damp, especially if you sweat heavily, but don’t soak flooring that isn’t water-resistant. Compare samples on your actual subfloor, since dust and unevenness can affect stability.
If grip feels weak, consider a textured finish or compatible underlayment for grip enhancement. Choose flooring that stays secure without restricting movement.
Light Your Gym for Better Workouts
Good lighting makes your home gym safer and more comfortable, helping you see equipment clearly and maintain good form. Start by making the most of Natural sunlight: position your workout area near a window, but avoid glare on screens or reflective equipment. Use blinds or curtains to control brightness and reduce heat during sunny sessions.
For consistent visibility after dark, choose Adjustable lighting that suits different activities. Bright, even overhead fixtures work well for strength training, while focused task lights can illuminate a bench, storage area, or workout instructions. Place fixtures so they don’t cast shadows across your lifting space or shine directly into your eyes.
Select bulbs with a high color-rendering index so you can judge your surroundings accurately. If you use dimmers, keep enough light to move safely between exercises and spot hazards on the floor.
Pick Colors That Keep You Moving
Choose colors that make your gym feel energizing without becoming distracting. Use color psychology to guide your choices: warm reds and oranges can add intensity, while blues and greens often create a calmer feel. Match the palette to your workouts and personal preferences rather than relying on trends.
For mood enhancement, paint one accent wall in a lively shade and keep the remaining surfaces neutral. This approach adds visual energy without making a compact room feel busy.
If you prefer a quieter atmosphere, choose muted tones and bring in brighter color through storage bins, towels, or equipment.
Test paint samples under your gym’s lighting before committing; colors can shift throughout the day.
Choose durable, washable finishes that handle scuffs and sweat.
A coordinated palette can help your space feel intentional and keep you motivated to return.
Add Mirrors to Check Your Form
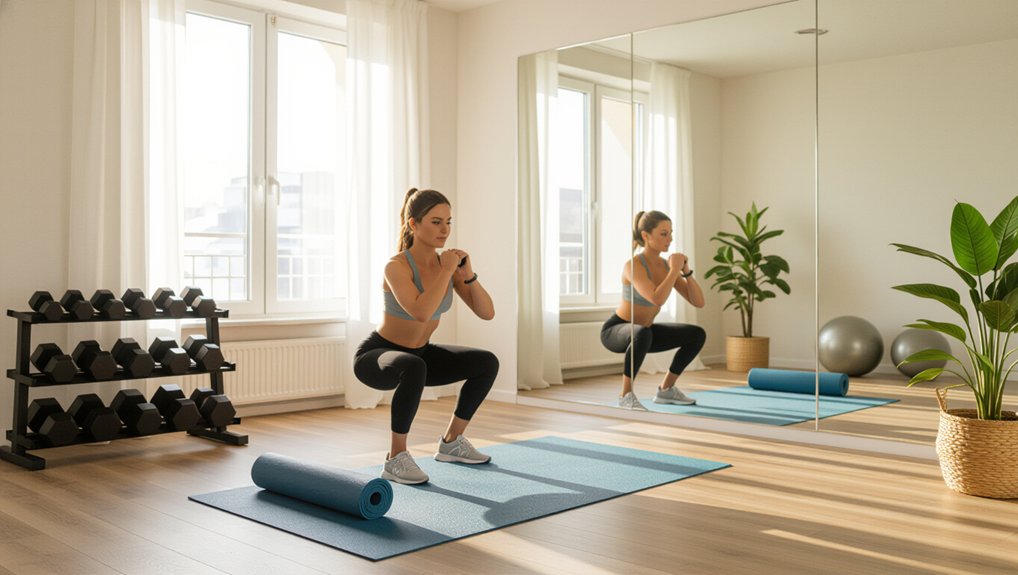
Mirrors let you check your alignment during strength training, yoga, and other form-focused workouts. Position a full-length mirror where you can see your entire body while standing, stretching, and using your main equipment.
Thoughtful mirror placement helps you spot rounded shoulders, uneven hips, or knees drifting inward without interrupting your routine. If you train with weights, place the mirror beside—not directly in front of—the lifting path, and keep it securely mounted to prevent accidents.
Use the reflection for form correction, but don’t rely on it alone. Check your posture between repetitions, then focus on controlled movement and body awareness as you exercise.
A second mirror on an adjacent wall can show side angles, which are useful for checking your back position during squats or hinges. Choose shatter-resistant glass or acrylic for added safety in an active workout area.
Create Storage to Clear the Clutter
Where can you put weights, bands, and towels when your workout’s over? Give each item a designated place so you can reset the room quickly and keep walkways clear. Choose storage solutions that fit your equipment and available floor space.
Use a sturdy rack for dumbbells, kettlebells, and weight plates; check its load rating before you buy. Mount resistance bands and jump ropes on wall hooks, keeping them within reach but off the floor.
A compact shelving unit or lidded bins can hold towels, yoga blocks, and smaller accessories. Label containers if you store several types of gear, so you can find what you need without rummaging.
Good clutter management also protects your equipment: dry towels before storing them, and keep weights away from damp areas. Put gear back after each session.
Add Personal Touches That Keep You Motivated
Make your home gym feel inviting with a few personal touches that support your routine. Choose inspiring decor that reflects what drives you, such as a framed race photo, a favorite athlete’s quote, or artwork in energizing colors. Place these items where you’ll see them during workouts, but keep them clear of equipment and movement paths.
Add practical details that make training feel more enjoyable. A small speaker can cue your playlist, while a wall calendar lets you mark sessions and track consistency. Display a few meaningful milestones, like a completed challenge or a strength goal you’ve reached, to reinforce personal motivation.
Keep the setup focused: too many objects can distract you or collect dust. Refresh photos, quotes, or goals when your routine changes, so your gym continues to feel relevant and encourages you to show up.
Make a Small Home Gym Feel Bigger
Even a compact workout area can feel open when you keep the floor clear and use vertical space. Store dumbbells on a narrow rack, hang resistance bands from sturdy hooks, and choose foldable equipment you can put away after training.
Wall mounted mirrors reflect light and make the room feel wider; position them where they won’t catch glare or create distracting reflections. Use ceiling lighting to brighten the whole space without taking up valuable floor or wall area.
If you can, add layered light with a focused fixture over your workout zone. Stick to a restrained color palette and avoid bulky furniture or oversized decor.
Keep pathways clear around your mat and equipment so you can move safely. A consistent layout helps your small gym feel organized, comfortable, and ready for every session.
Conclusion
Your home gym doesn’t need to be large or elaborate to support consistent workouts. Arrange equipment within easy reach, choose flooring with reliable grip, and use layered lighting, mirrors, and clear storage to make each session safer and smoother. Add colors and personal reminders that help you stay focused. Think of the room as your launchpad: when it’s organized around your needs, you’ll spend less time adjusting the space and more time building strength, energy, and lasting momentum.