
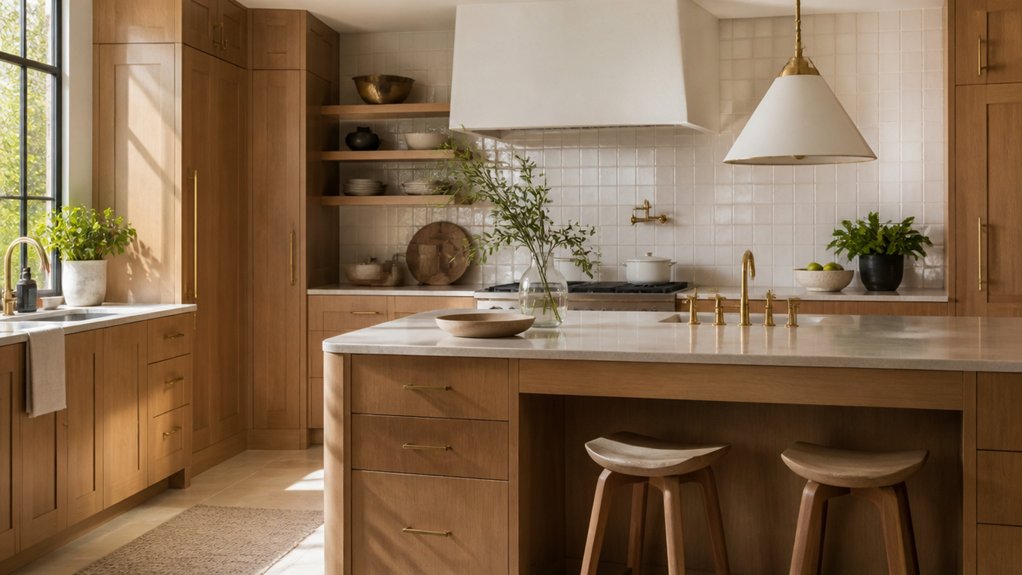

A well-designed kitchen doesn’t need more space to work better—but does that hold true for your home? Start by planning around your routine, then look for ways to improve storage, dining, lighting, and material choices without crowding the room. The right colors and finishes can tie those decisions together, but one common layout mistake can undermine even the most polished renovation.
Plan Your Kitchen Renovation Around Your Routine
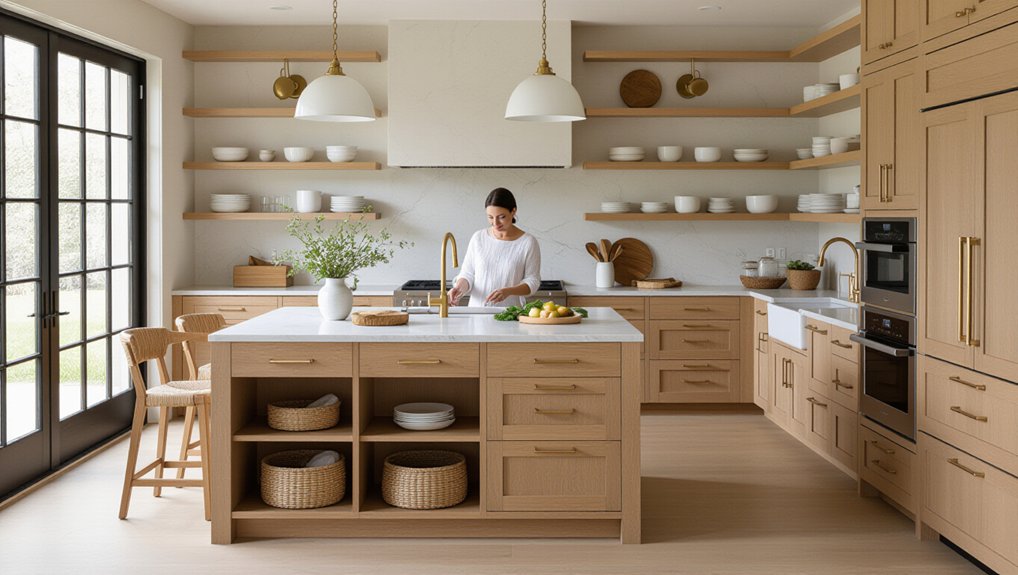
Before choosing finishes or appliances, consider how you use your kitchen each day. Track when you cook, who joins you, and which tasks slow you down. This routine should guide your renovation decisions, from counter space to lighting.
For efficient meal prep, position your main work surface near the sink and refrigerator, with enough room to chop and assemble ingredients. If you bake often, plan for a clear stretch of counter beside the oven.
Think carefully about appliance placement, too: keep frequently used appliances accessible, and group cooking tools near the range. Leave practical pathways between work areas so family members can move through the kitchen without interrupting your tasks.
Your habits should shape the layout—not the other way around. A plan built around your routine will make everyday cooking more comfortable and efficient.
Find More Kitchen Storage Without Crowding the Room
You can add storage without sacrificing floor space by using walls and the full height of your cabinets. Install shelves, rails, or tall cabinets to keep frequently used items within reach.
Choose hidden organizers, such as pull-out trays and drawer dividers, to make existing storage work harder.
Use Vertical Storage
When counter and cabinet space runs short, use your kitchen’s walls to store more without crowding the room. Wall mounted racks keep frequently used utensils, mugs, or spices within easy reach while freeing valuable work surfaces. Choose sturdy materials and secure each rack to a stud or suitable wall anchor, especially when you’ll store heavier items.
Make the most of narrow gaps with vertical dividers inside cabinets or on open shelves. They let you stand baking sheets, cutting boards, and trays upright, so you can remove one without shifting the rest.
For a cohesive look, match visible storage to your kitchen’s finishes and group items by use. Keep heavier pieces lower and everyday essentials near your main prep area.
Before installing anything, check clearances around doors and appliances, and leave enough room to move comfortably.
Choose Hidden Organizers
Hidden organizers make use of overlooked spaces without adding visual clutter. Look for opportunities inside cabinets, beneath counters, and beside appliances. A narrow pullout next to your refrigerator can hold oils, spices, or baking sheets, while a toe-kick drawer can store flat items you rarely use. These additions help you gain capacity without widening cabinets or blocking walkways.
Choose features that suit your routines. Concealed drawers beneath a cooktop keep utensils close at hand, and hidden compartments in an island can tuck away charging cables or small tools. Use dividers to keep contents accessible instead of letting them become hard-to-find catchalls.
Before ordering, measure each opening and check door swings, plumbing, and appliance clearance. Prioritize durable hardware and smooth, full-extension slides so you can reach items at the back. A well-planned organizer makes your kitchen easier to use every day.
Make Space for Kitchen Dining and Gathering
Make room for everyday meals by turning an underused corner into a cozy breakfast nook.
Choose space-saving seating, such as a bench or stools, to keep walkways clear.
Arrange the kitchen for an open gathering area where guests can mingle without interrupting meal prep.
Create a Cozy Breakfast Nook
A cozy breakfast nook can turn an underused corner into a welcoming spot for meals, coffee, and conversation. To make it work, first assess how your household uses the kitchen and where morning light falls. A window alcove or quiet corner near the kitchen keeps dining convenient without interrupting cooking traffic.
Choose a compact table that fits the space and leaves a clear route between work zones. A round top can ease movement, while a narrow table suits a tight layout. Add warmth with durable cushions, layered lighting, and finishes that complement your cabinetry.
If you lack room for a separate table, extend a counter into a breakfast bar and define the dining area with pendant lights. Keep the palette calm, and you’ll create a cozy corner that feels intentional and inviting.
Add Space-Saving Seating
When kitchen dining needs to fit into a tight layout, space-saving seating can keep the room comfortable without blocking its workflow. Choose pieces that tuck away when you’re cooking and provide sturdy support when you’re eating.
Convertible benches work well along a wall or beneath a window. Select a model with a lift-up seat for useful storage, and check that its depth leaves enough room to move around the table.
A narrow bench can seat several people while taking up less floor space than individual chairs.
For flexible seating, keep fold-away stools nearby. You can bring them out for guests, then stack or store them in a pantry or under a counter.
Measure your clearances before buying, and prioritize durable, easy-clean materials. With the right fit, you’ll gain practical dining seats without crowding your kitchen.
Design an Open Gathering Area
With seating in place, an open gathering area gives people room to dine and spend time together without disrupting kitchen tasks.
Define the zone around how you use it: place a table near the kitchen, but keep it clear of appliance doors, main walkways, and prep surfaces.
Seating arrangements should support conversation while letting you pull out chairs comfortably. A banquette can save space, while movable chairs adapt to changing group sizes.
Use a pendant over the table to mark the dining area, and choose durable, easy-clean finishes for everyday meals.
Acoustic zoning matters in an open plan, where hard surfaces can amplify noise. Add upholstered seats, curtains, or a rug to soften sound without blocking sightlines.
Keep lighting layered so you can shift from bright cooking to relaxed gatherings.
Choose Kitchen Materials That Stand Up to Daily Use
Daily cooking, spills, and constant foot traffic can quickly wear down the wrong kitchen finishes. Choose materials that match how you use the room, not just how they look in a showroom.
Durable countertops, such as quartz or sealed granite, resist scratches and stains while giving you a reliable prep surface. Check care requirements before buying: some natural stone needs regular sealing, while nonporous options need less upkeep.
For floors, prioritize stain resistant flooring that handles moisture and frequent cleaning. Porcelain tile and quality vinyl offer practical choices; confirm that the surface won’t become slippery when wet.
Select cabinet finishes that tolerate fingerprints and wipe clean easily, especially near handles and cooking areas. Bring samples home to compare color and texture in your space, and review warranties.
A little research now can help your kitchen stay attractive through years of daily use.
Layer Kitchen Lighting for Cooking and Dining
Good kitchen lighting starts with layers that support each task and set the right mood. Begin with ambient layering: use ceiling fixtures or recessed lights to provide even, general brightness throughout the room.
Add task illumination where you need clear visibility, such as under-cabinet lights over counters and focused fixtures above the sink or cooktop. Choose dimmable controls so you can adjust brightness for chopping, reading recipes, or cleaning.
For dining, hang a pendant over the table or island and lower its output when you want a relaxed atmosphere. Keep switches accessible, and place separate lighting zones on independent controls.
This setup lets you brighten work areas without flooding the whole kitchen, then shift smoothly from meal preparation to dining. Check that bulbs deliver consistent color and avoid glare on work surfaces.
Choose Colors and Finishes That Fit Your Kitchen
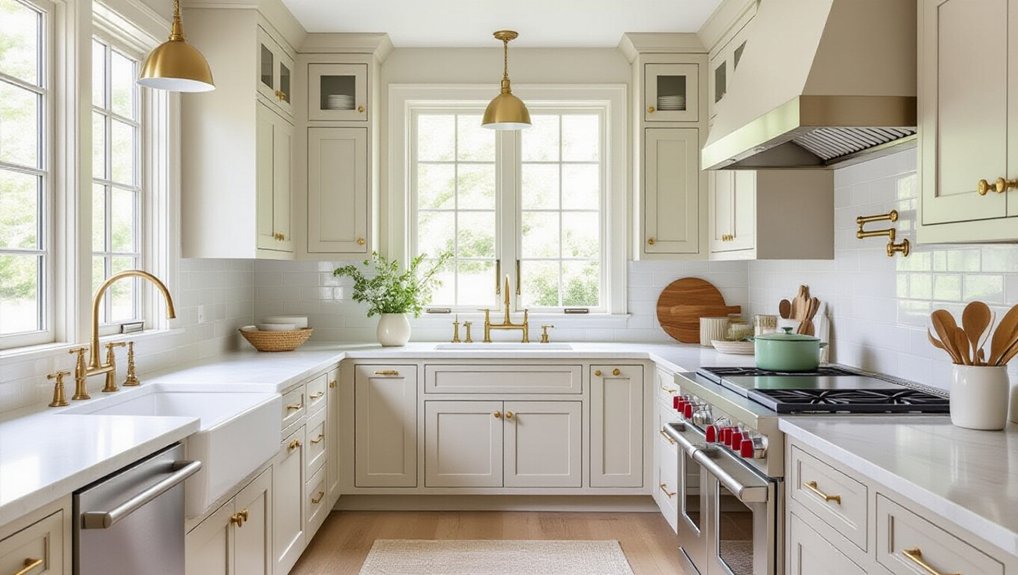
Once your lighting plan is set, choose colors and finishes that suit your kitchen’s size, natural light, and daily use. Test paint and material samples at different times of day; sunlight and your fixtures can shift how shades appear.
In a compact kitchen, light color palettes can help surfaces feel open, while a darker island adds depth without overwhelming the room. For a larger space, combine contrasting tones to define cooking, dining, or storage areas.
Consider finish textures as well as color. Matte cabinets soften glare and conceal fingerprints, while glossy tile reflects light and wipes clean easily. Choose durable, moisture-resistant surfaces near sinks and ranges, and check care requirements before committing.
Repeat one or two finishes across hardware, lighting, or shelving to create cohesion. Your choices should balance visual appeal with upkeep you can manage.
Conclusion
The best kitchen renovation doesn’t reveal itself in a single dramatic feature. It’s in the clear counter when dinner begins, the drawer that puts tools within reach, and the warm light that keeps guests lingering. Plan around your routine, choose durable materials, and balance storage, gathering space, and cohesive finishes. Then give the details time to work together. When the last choice falls into place, you’ll discover a kitchen that feels effortless—and wonder how you ever managed without it.